Introduction
Wakapi is an open-source, self-hosted backend service compatible with WakaTime, designed to track and display a developer’s coding activity.
Project Repository
The source code for Wakapi can be found at the following link:
https://github.com/muety/wakapi
My YAML Repository
My YAML files can be accessed at the following link:
https://github.com/bboysoulcn/kubernetes-sample/tree/master/wakapi
Server Installation
Installing the Wakapi server is relatively straightforward. Initially, you need to select a database. Wakapi supports the following databases:
- SQLite (default, easy to set up)
- MySQL (recommended due to extensive testing)
- MariaDB (open-source alternative to MySQL)
- Postgres (also open-source)
- CockroachDB (cloud-native, distributed, with a Postgres-compatible API)
I have chosen MySQL for this instance. If you also opt for MySQL, you need to create a new database for Wakapi to use before launching it:
CREATE DATABASE wakapi CHARACTER SET utf8mb4;
Next, we will install Wakapi in Kubernetes, which requires some standard procedures. First, we need to create a certificate. You can use the following certificate.yaml file:
apiVersion: cert-manager.io/v1
kind: Certificate
metadata:
  name: wakapi.example.cn
  namespace: app
spec:
  dnsNames:
  - wakapi.example.cn # Domain name for the certificate to be issued
  issuerRef:
    kind: ClusterIssuer
    name: letsencrypt-dns01 # Referring to ClusterIssuer, indicating verification via dns01
  secretName: wakapi-example-cn-tls # The issued certificate will be stored in this Secret
Subsequently, we need to create an Ingress. You can use the following ingress.yaml file:
apiVersion: networking.k8s.io/v1
kind: Ingress
metadata:
  name: wakapi-ingress
  namespace: app
  annotations:
    kubernetes.io/ingress.class: "nginx"
    nginx.ingress.kubernetes.io/ssl-passthrough: "true"
    nginx.ingress.kubernetes.io/force-ssl-redirect: "true"
    nginx.ingress.kubernetes.io/proxy-body-size: "4096m"
spec:
  rules:
  - host: "wakapi.example.cn"
    http:
      paths:
      - pathType: Prefix
        path: "/"
        backend:
          service:
            name: wakapi-svc
            port:
              number: 3000
  tls:
  - hosts:
    - wakapi.example.cn
    secretName: wakapi-example-cn-tls
Then, we need to create a service. Please note that the service name cannot be “wakapi” as it would conflict with Wakapi’s environment variables. More information can be found at the following link:
https://github.com/muety/wakapi/issues/567
You can use the following svc.yaml file to create the service:
apiVersion: v1
kind: Service
metadata:
  name: wakapi-svc
  namespace: app
spec:
  type: ClusterIP
  selector:
    app: wakapi
  ports:
  - port: 3000
    targetPort: 3000
    name: web
Finally, we need to create a Deployment. You can use the following deploy.yaml file to create the Deployment:
apiVersion: apps/v1
kind: Deployment
metadata:
  name: wakapi
  namespace: app
spec:
  selector:
    matchLabels:
      app: wakapi
  template:
    metadata:
      labels:
        app: wakapi
    spec:
      containers:
      - name: wakapi
        image: ghcr.io/muety/wakapi:2.10.0
        ports:
        - containerPort: 3000
          name: web
        env:
        - name: WAKAPI_DB_TYPE
          value: "mysql"
        - name: WAKAPI_DB_NAME
          value: "wakapi"
        - name: WAKAPI_DB_USER
          value: "root"
        - name: WAKAPI_DB_PASSWORD
          value: "password"
        - name: WAKAPI_DB_HOST
          value: "mysql.example.com"
        - name: WAKAPI_DB_PORT
          value: "3306"
        - name: ENVIRONMENT
          value: "prod"
        - name: WAKAPI_PASSWORD_SALT
          value: "salt"
        - name: WAKAPI_LEADERBOARD_ENABLED # Whether to enable the public leaderboard
          value: "false"
        - name: WAKAPI_REPORT_TIME_WEEKLY	# Workdays and time for sending email reports
          value: "0 0 8 * * *"
        - name: WAKAPI_SUPPORT_CONTACT # Email address to be displayed as the support contact on the page
          value: "[email protected]"
        - name: WAKAPI_ALLOW_SIGNUP # Whether to enable user registration
          value: "false"
        - name: WAKAPI_DISABLE_FRONTPAGE # Whether to disable the login page (useful for personal instances)
          value: "true"
        - name: WAKAPI_EXPOSE_METRICS # Whether to expose Prometheus metrics/api/metrics
          value: "true"
        - name: WAKAPI_DB_MAX_CONNECTIONS # Maximum number of database connections
          value: "10"
        - name: WAKAPI_MAIL_ENABLED	# Whether to allow Wakapi to send emails (e.g., password reset)
          value: "true"
        - name: WAKAPI_MAIL_SENDER # Default sender address for outgoing emails (ignored by MailWhale)
          value: "Wakapi <[email protected]>"
        - name: WAKAPI_MAIL_PROVIDER # Implementation for sending emails via smtp
          value: "smtp"
        - name: WAKAPI_MAIL_SMTP_HOST # SMTP server address for sending emails
          value: "smtp.example.com"
        - name: WAKAPI_MAIL_SMTP_PORT # SMTP server port
          value: "25"
        - name: WAKAPI_MAIL_SMTP_USER # Username for SMTP server authentication
          value: "[email protected]"
        - name: WAKAPI_MAIL_SMTP_PASS # Password for SMTP server authentication
          value: "password"
        - name: WAKAPI_MAIL_SMTP_TLS # Whether the SMTP server requires TLS encryption
          value: "false"
        - name: WAKAPI_PUBLIC_URL # URL where your Wakapi instance can be publicly found
          value: "https://wakapi.example.cn"
If you are using Docker Compose, ensure that you have set the correct environment variables.
Client Configuration
Wakapi supports all clients that are compatible with WakaTime. All supported clients can be found at the following link:
https://wakatime.com/plugins
Client configuration is quite simple. On your machine, open the ~/.wakatime.cfg file and add the following content:
[settings]

# Your Wakapi server URL or 'https://wakapi.dev/api' when using the cloud server
api_url = http://localhost:3000/api

# Your Wakapi API key (get it from the web interface after having created an account)
api_key = 406fe41f-6d69-4183-a4cc-121e0c524c2b
Please note, if you are using the Remote Development feature in VS Code like I am, you need to add this configuration on your remote machine as well and ensure that Wakapi can be accessed by the remote machine.
Prometheus and Grafana Configuration
First, you need to convert your API key into base64 format:
echo "<YOUR_API_KEY>" | base64
Then, you need to add a new job configuration. You can use the following configuration:
      - job_name: 'wakapi'
        scrape_interval: 1m
        scheme: https
        metrics_path: '/api/metrics'
        bearer_token: 'token'
        static_configs:
          - targets: ['wakapi.example.com']
Please note, in the latest 2.10.0 version of Wakapi, you need to set WAKAPI_LEADERBOARD_ENABLED to “false” to avoid a bug. More information can be found at the following link:
https://github.com/muety/wakapi/issues/576
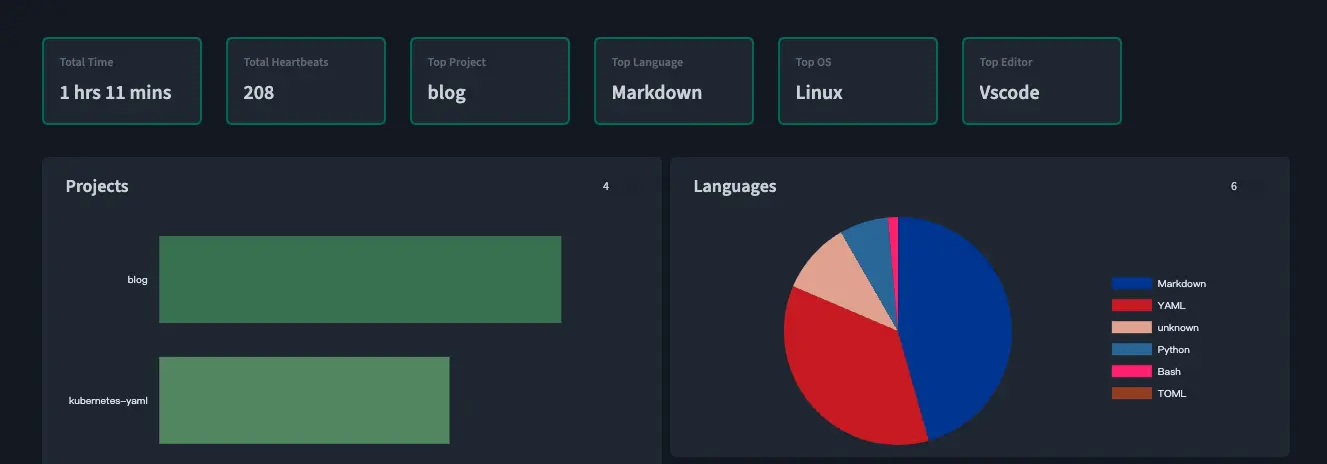
Finally, you need to add a new dashboard in Grafana. A pre-configured dashboard can be found at the following link:
https://grafana.com/grafana/dashboards/12790-wakatime-coding-stats/
Just import this dashboard, and you are ready to go.
Feel free to follow my blog at www.bboy.app
Have Fun
